The Rabbit Hole that is Application Deployment
If I’ve learned anything in the past two years working with production Django deployments, it’s that deployment is fucking hard. Every…
If I’ve learned anything in the past two years working with production Django deployments, it’s that deployment is fucking hard. Every real project I’ve put into production over the past few years has involved hundreds (if not thousands) of hours worth of infrastructure management. Even though I’d like to think that my overall sysadmin skills are slightly above that of your typical programmer, I still spend an inordinate amount of time working on infrastructure.
I started this post with the above quote by Randall Degges because it is painfully accurate and it helped me realize I am not the only one who finds production Django deployments challenging.
I don’t know Randall, but as an aside, if you want a really good book on deploying applications on Heroku, I suggest picking up his book, The Heroku Hacker’s Guide.
A disclaimer of sorts before I continue. The information included in my Gist file (gist) is based on DigitalOcean documentation. I just added some of my own notes for clarity. The full documentation can be found here: digital_ocean_docs.
Ok, with that out of the way, let’s begin our journey down the rabbit-hole of Django deployment.
Linux, Ubuntu, Centos, Debian, NGINX, Gunicorn…and oh yeah, there’s DigitalOcean…Arrrrrg! It’s enough to make your head spin! But what does this all mean?
Let’s start with DigitalOcean because that is where our app is going to be deployed. What exactly is DigitalOcean? DigitalOcean is a cloud hosting provider that deploys and manages scalable web applications.
In DigitalOcean you can create cloud servers, databases, clusters etc. but for our purpose we will only be concerned with creating a cloud server or a Droplet.
A Droplet is a flexible Linux-based virtual machine (VM) that run on top of virtualized hardware. Each ‘Droplet ‘ that is created is a new server you can use.
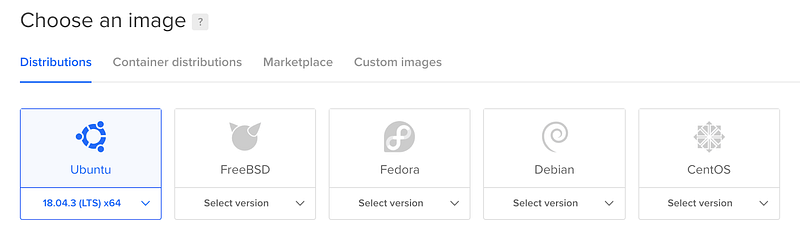
Once you login to DigitalOcean and create a Droplet, you are asked to choose a distribution option (a special type of operating system).
Before we dive into distributions, let’s clarify things.
We will start with Linux. Linux is open source, which means developers can do things like create their own operating system. This is done using the foundation of the Linux system — the Linux kernel. Pretty cool huh?!
There are hundreds of different Linux distributions available for use. Many are free and have communities of users who provide guidance and support. Ubuntu, CentOS and Debian are just a few distros available for use.
In this tutorial, the distribution we will be using is Ubuntu.
For complete instructions on how to set up an Ubuntu distribution visit my gist.
Once we set up our Ubuntu distribution an ip address will be assigned.
Our first task is to handle security and gaining access to our server. We will first login to our root with the ip address that we were assigned. Next, we set up a new user so that we can login with that rather than our root (we will disable root later for security reasons).
Here are the basic steps to setting up a new user in Ubuntu:
For detailed instructions click here ( gist )
- Create SSH keys
- Login to the root of your server
- Create a new user
- Grant new user root privileges
- Setup SSH keys for the new user
- Exit the server (your new user is now set up)
- Add SSH key for new user
- Exit root and login as new user
Once we are logged in as a new user, we can disable root login and reload our sshd service.
Next time we will set up our firewall, install our server dependencies, update packages and set-up our PostgreSQL database!